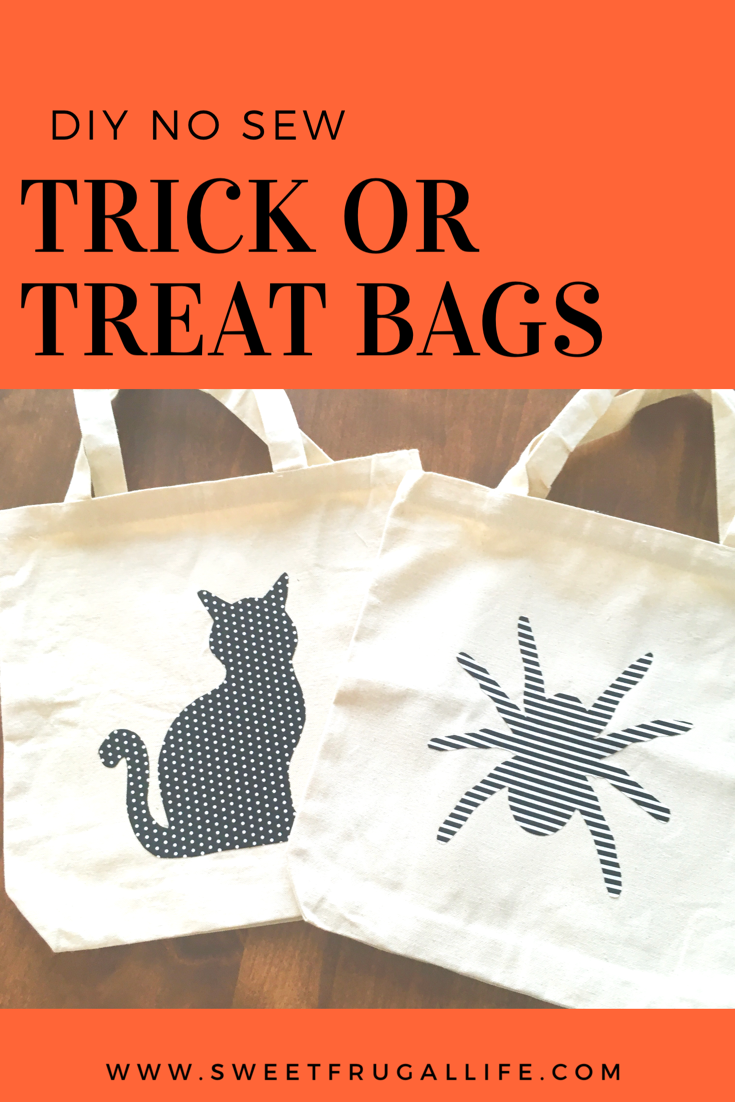
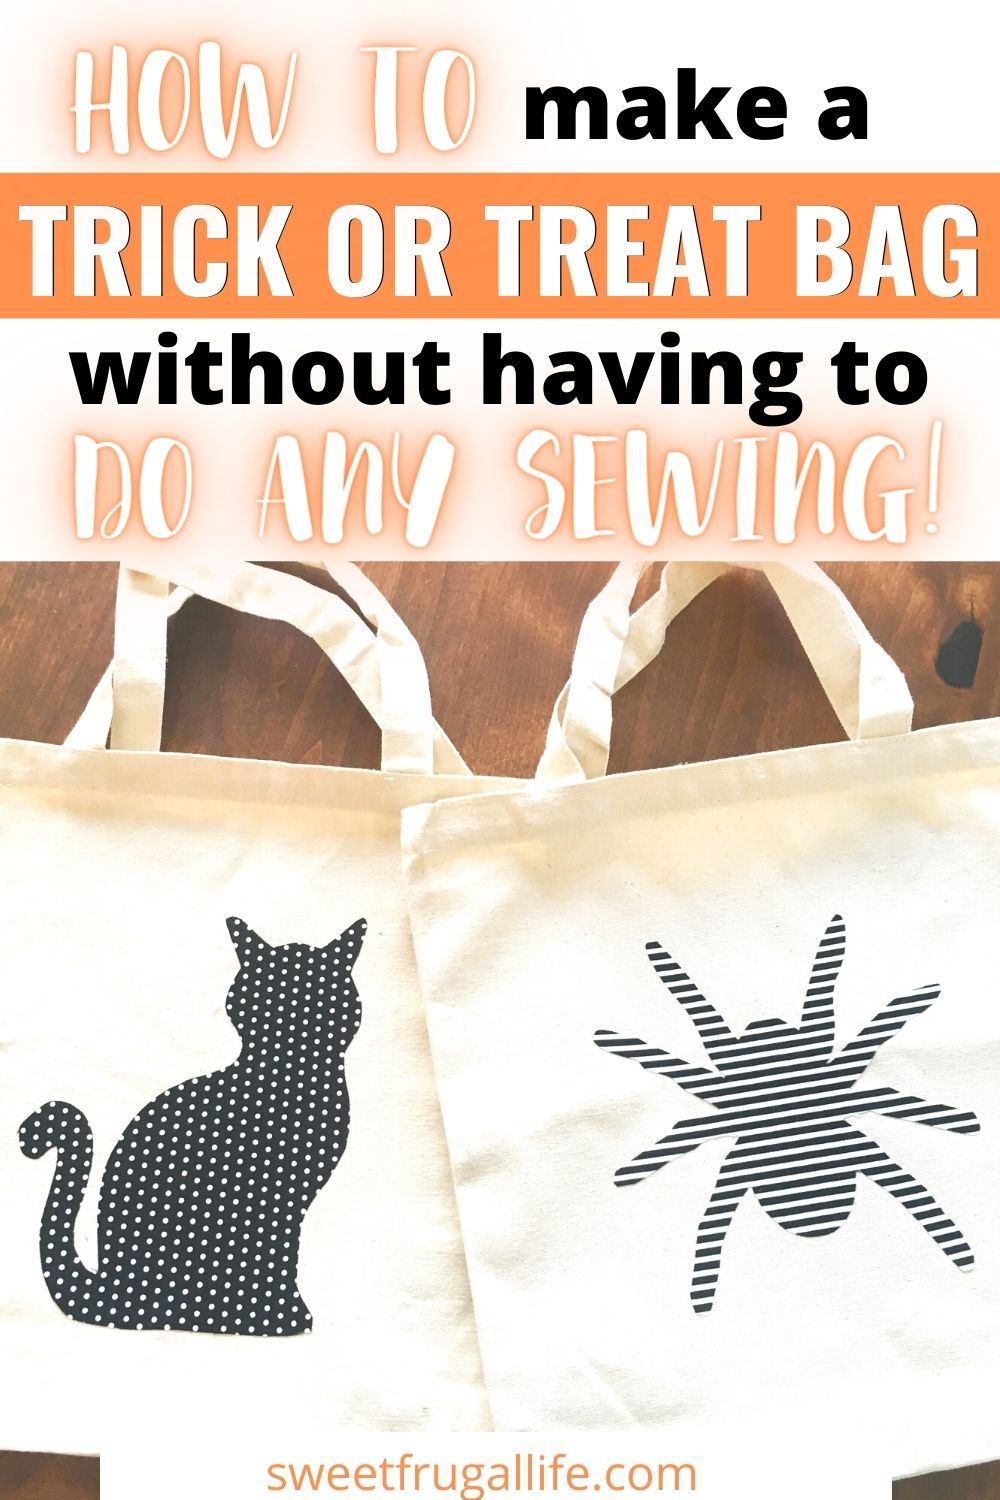
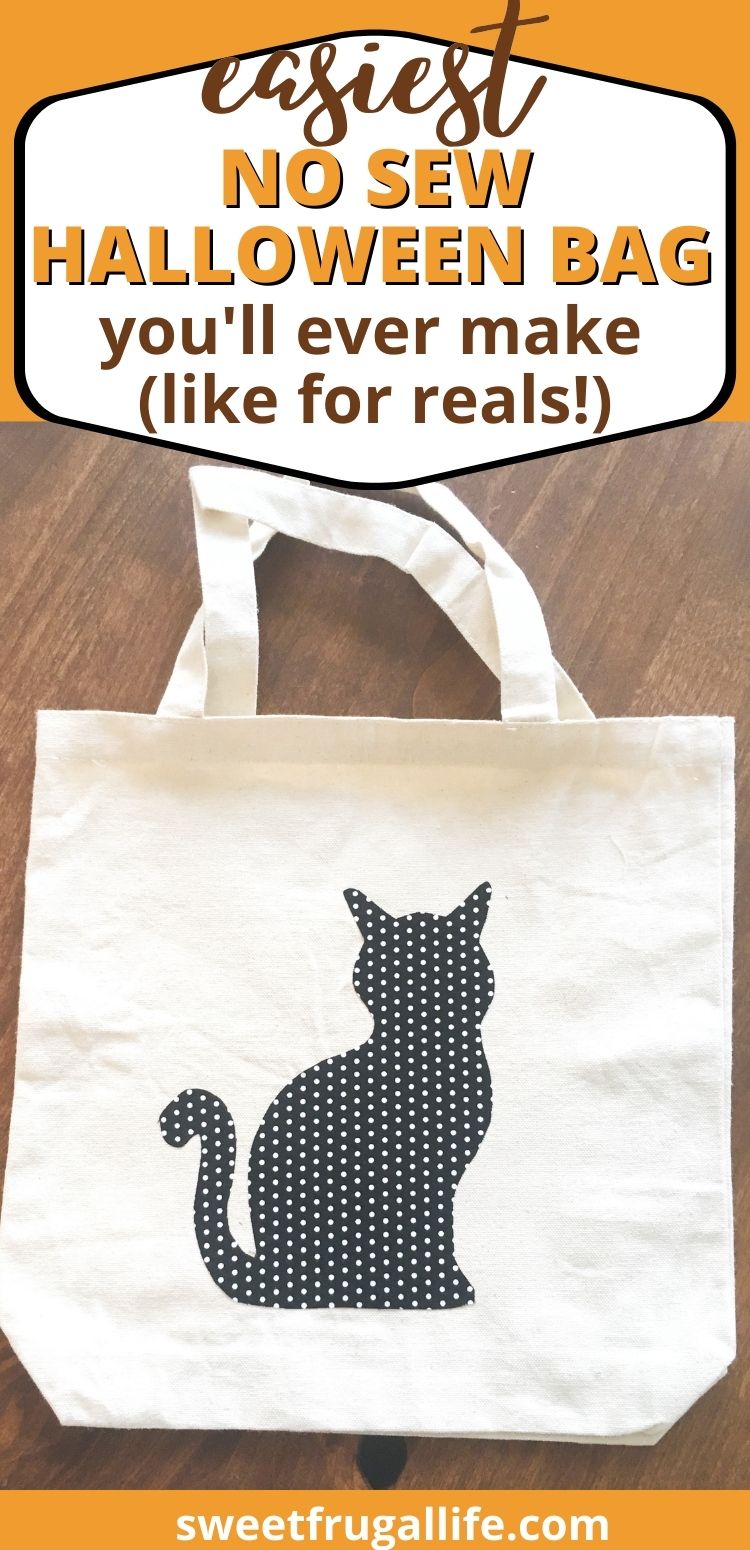
Check out this No Sew Trick or Treat Bag Tutorial!
Halloween is just around the corner! I love this time of year; I love the pumpkins, the crisp cool air, the changing leaves, and the excitement in my children. My kids love to dress up and run around the neighborhood trick or treating. The urge to craft came on strong the other day and I decided it would be so fun to make my kids new bags for trick or treating. I wanted to create something cute, but also simple and frugal (because that’s how I roll!). I came up with the idea of this DIY trick or treat bag. I’ll be honest with you….it was even EASIER than I originally had planned! (win!)
Disclosure: “We are a participant in the Amazon Services LLC Associates Program, an affiliate advertising program designed to provide a means for us to earn fees by linking to Amazon.com and affiliated sites. As an Amazon Associate I earn from qualifying purchases.”
DIY Trick or Treat Bag Tutorial
My favorite thing about this tutorial is that it is an easy craft projects for non sewers, but comes out looking professional!
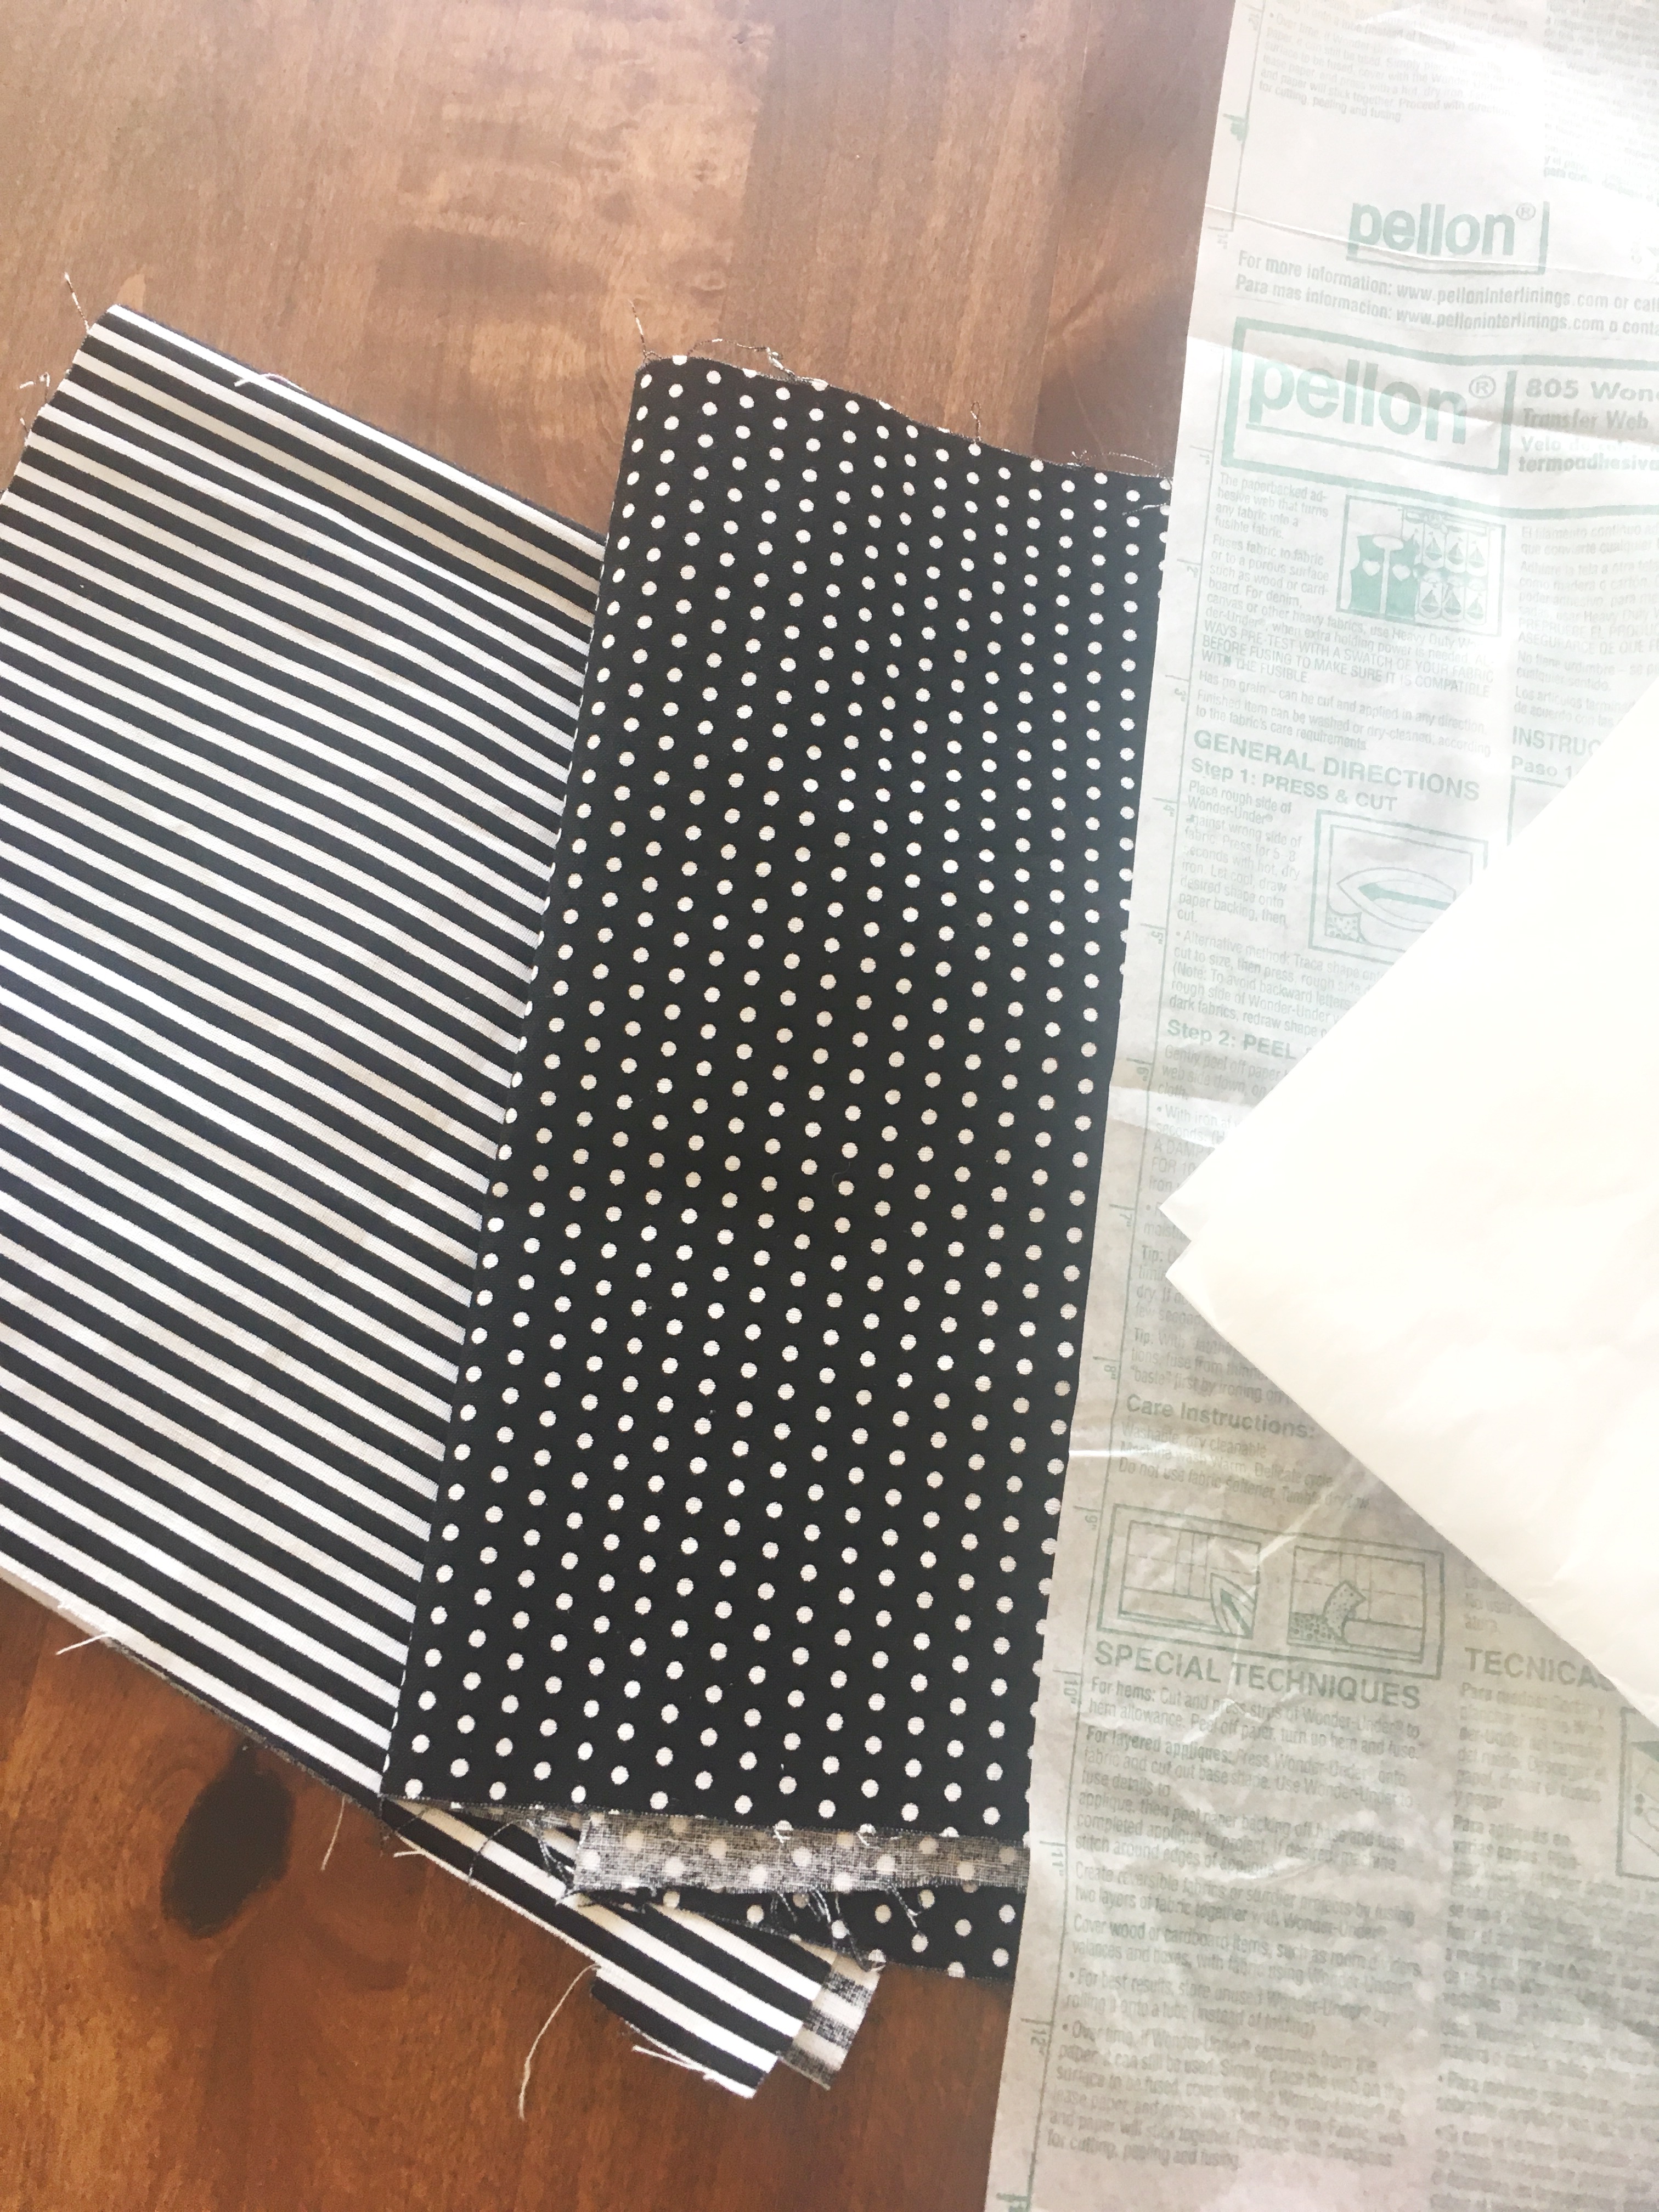
The first thing you will need to do to make this no sew Trick or Treat bag is to gather all of your supplies.
Supplies Needed:
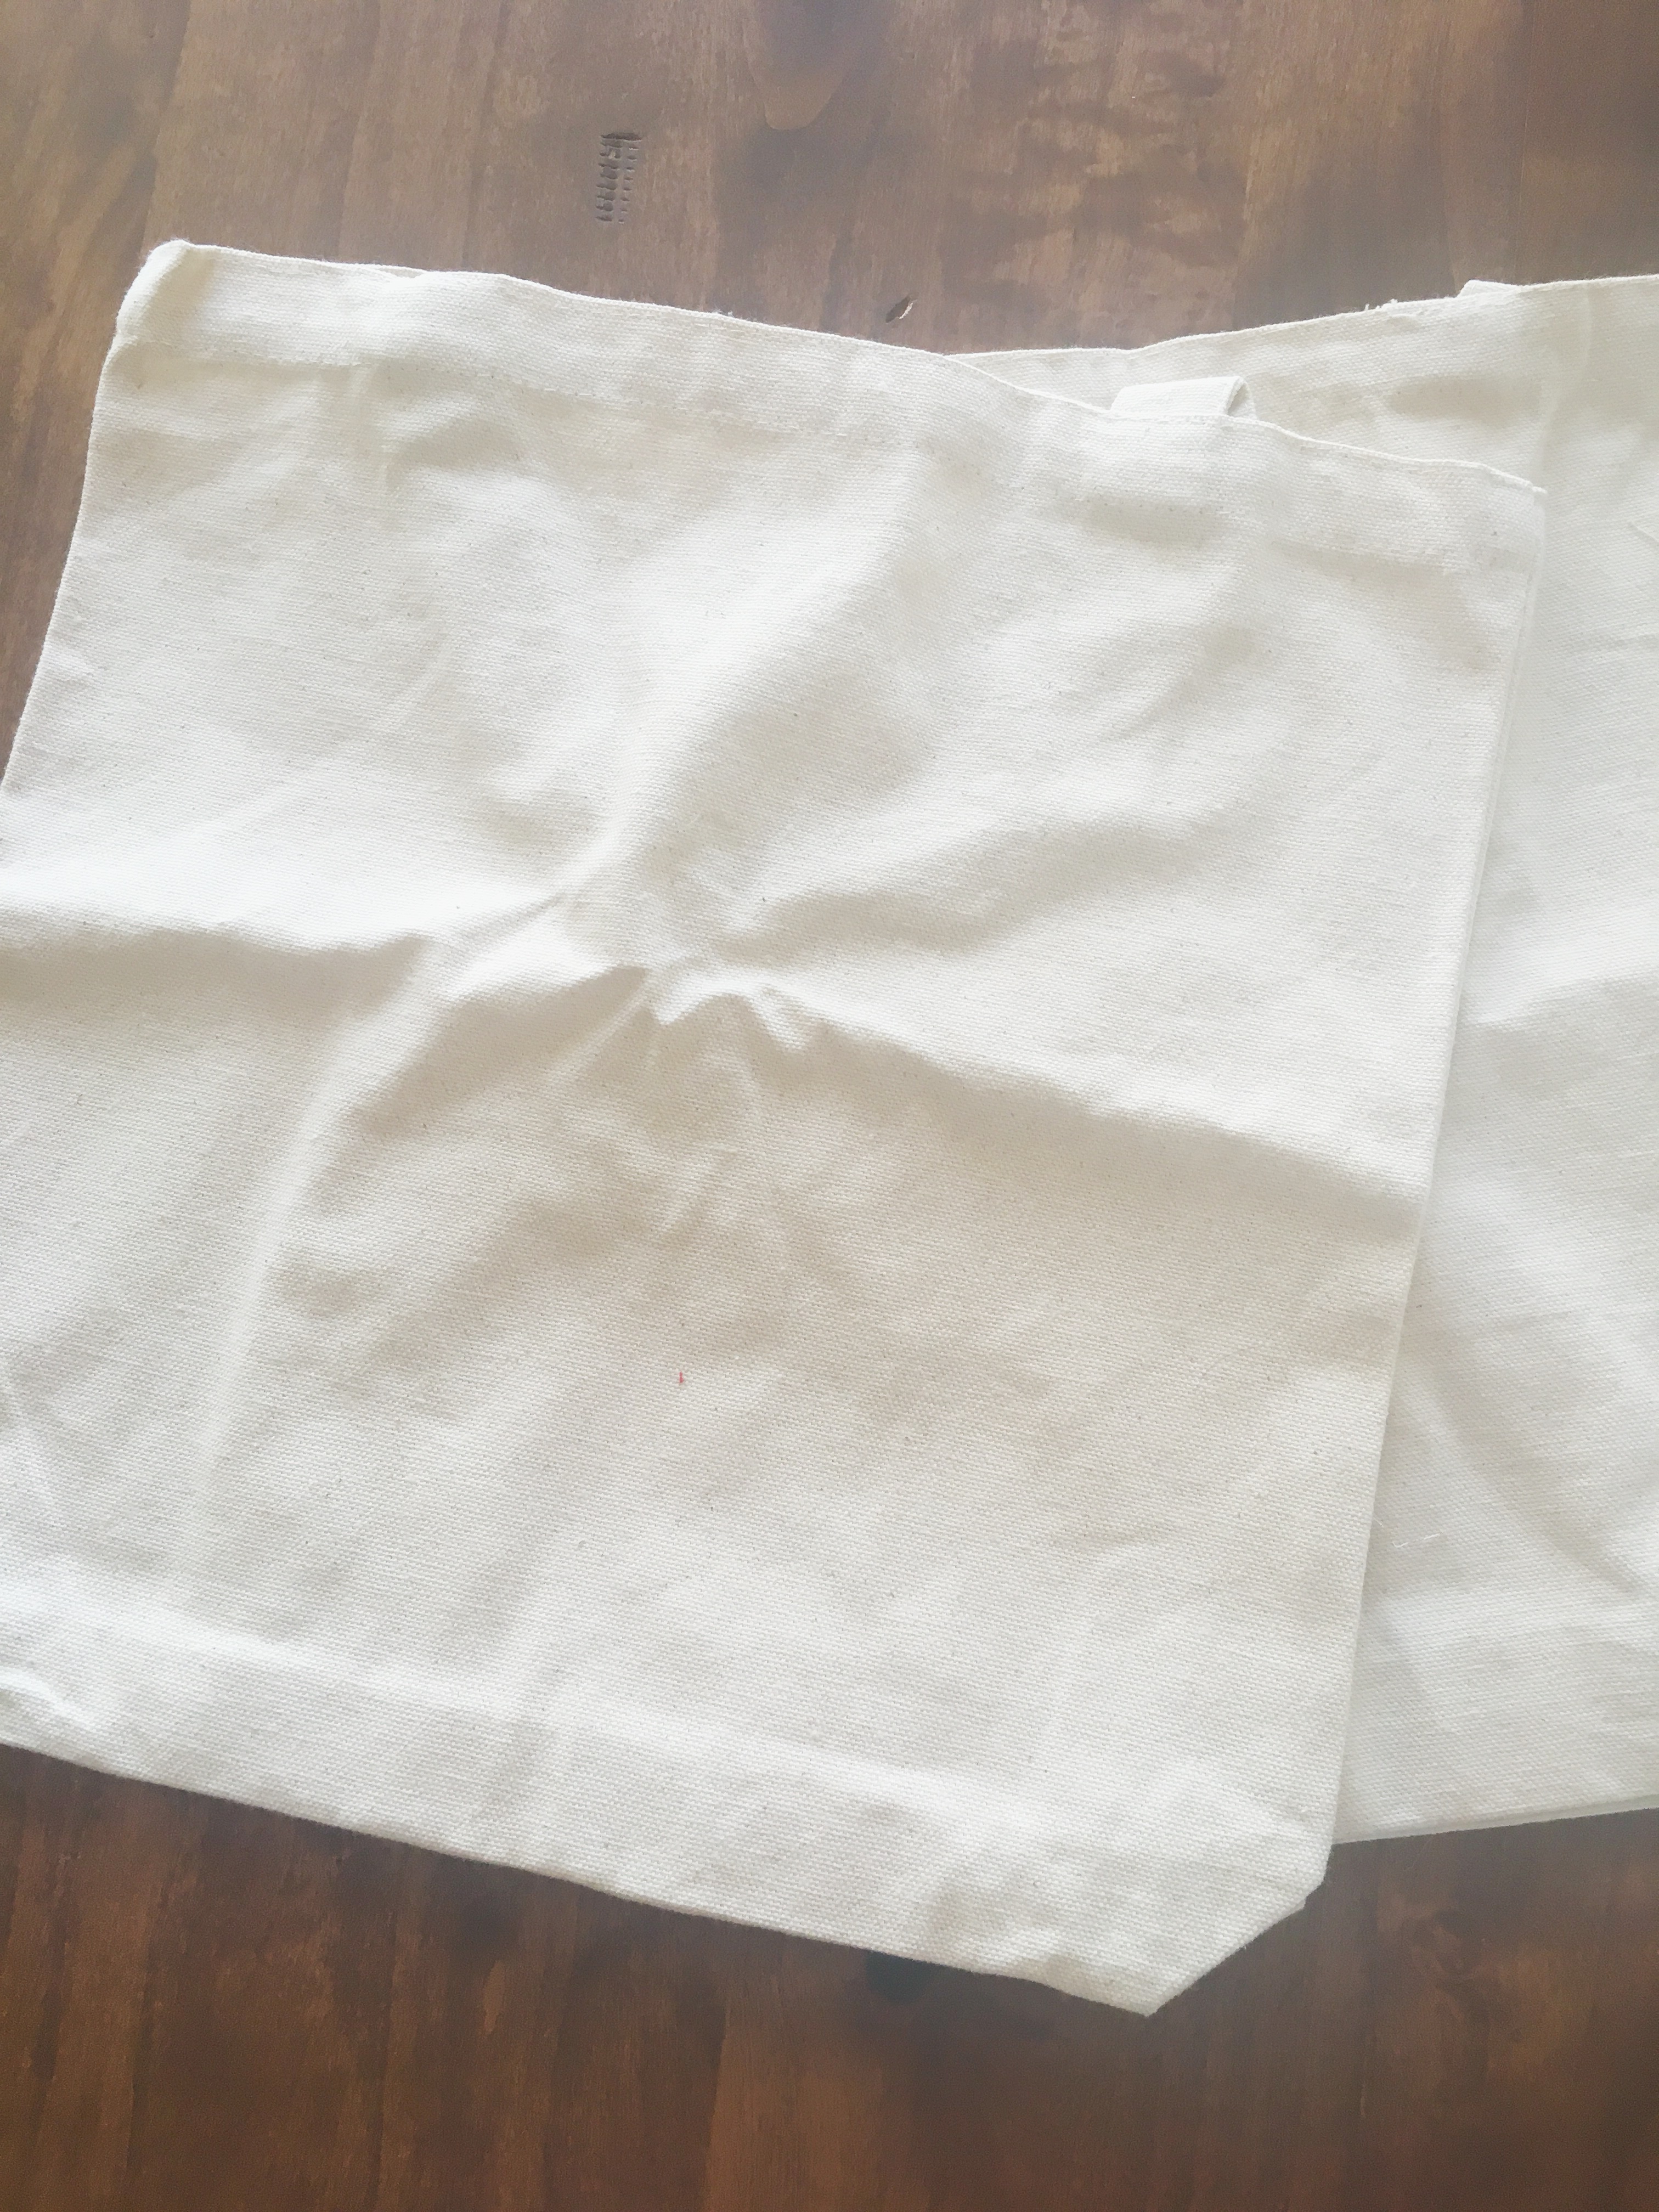
- –Canvas Craft Tote
- Scrap fabric (I chose Halloween colors)
- Wonder Under
- Iron/ironing board
- Pattern for tracing
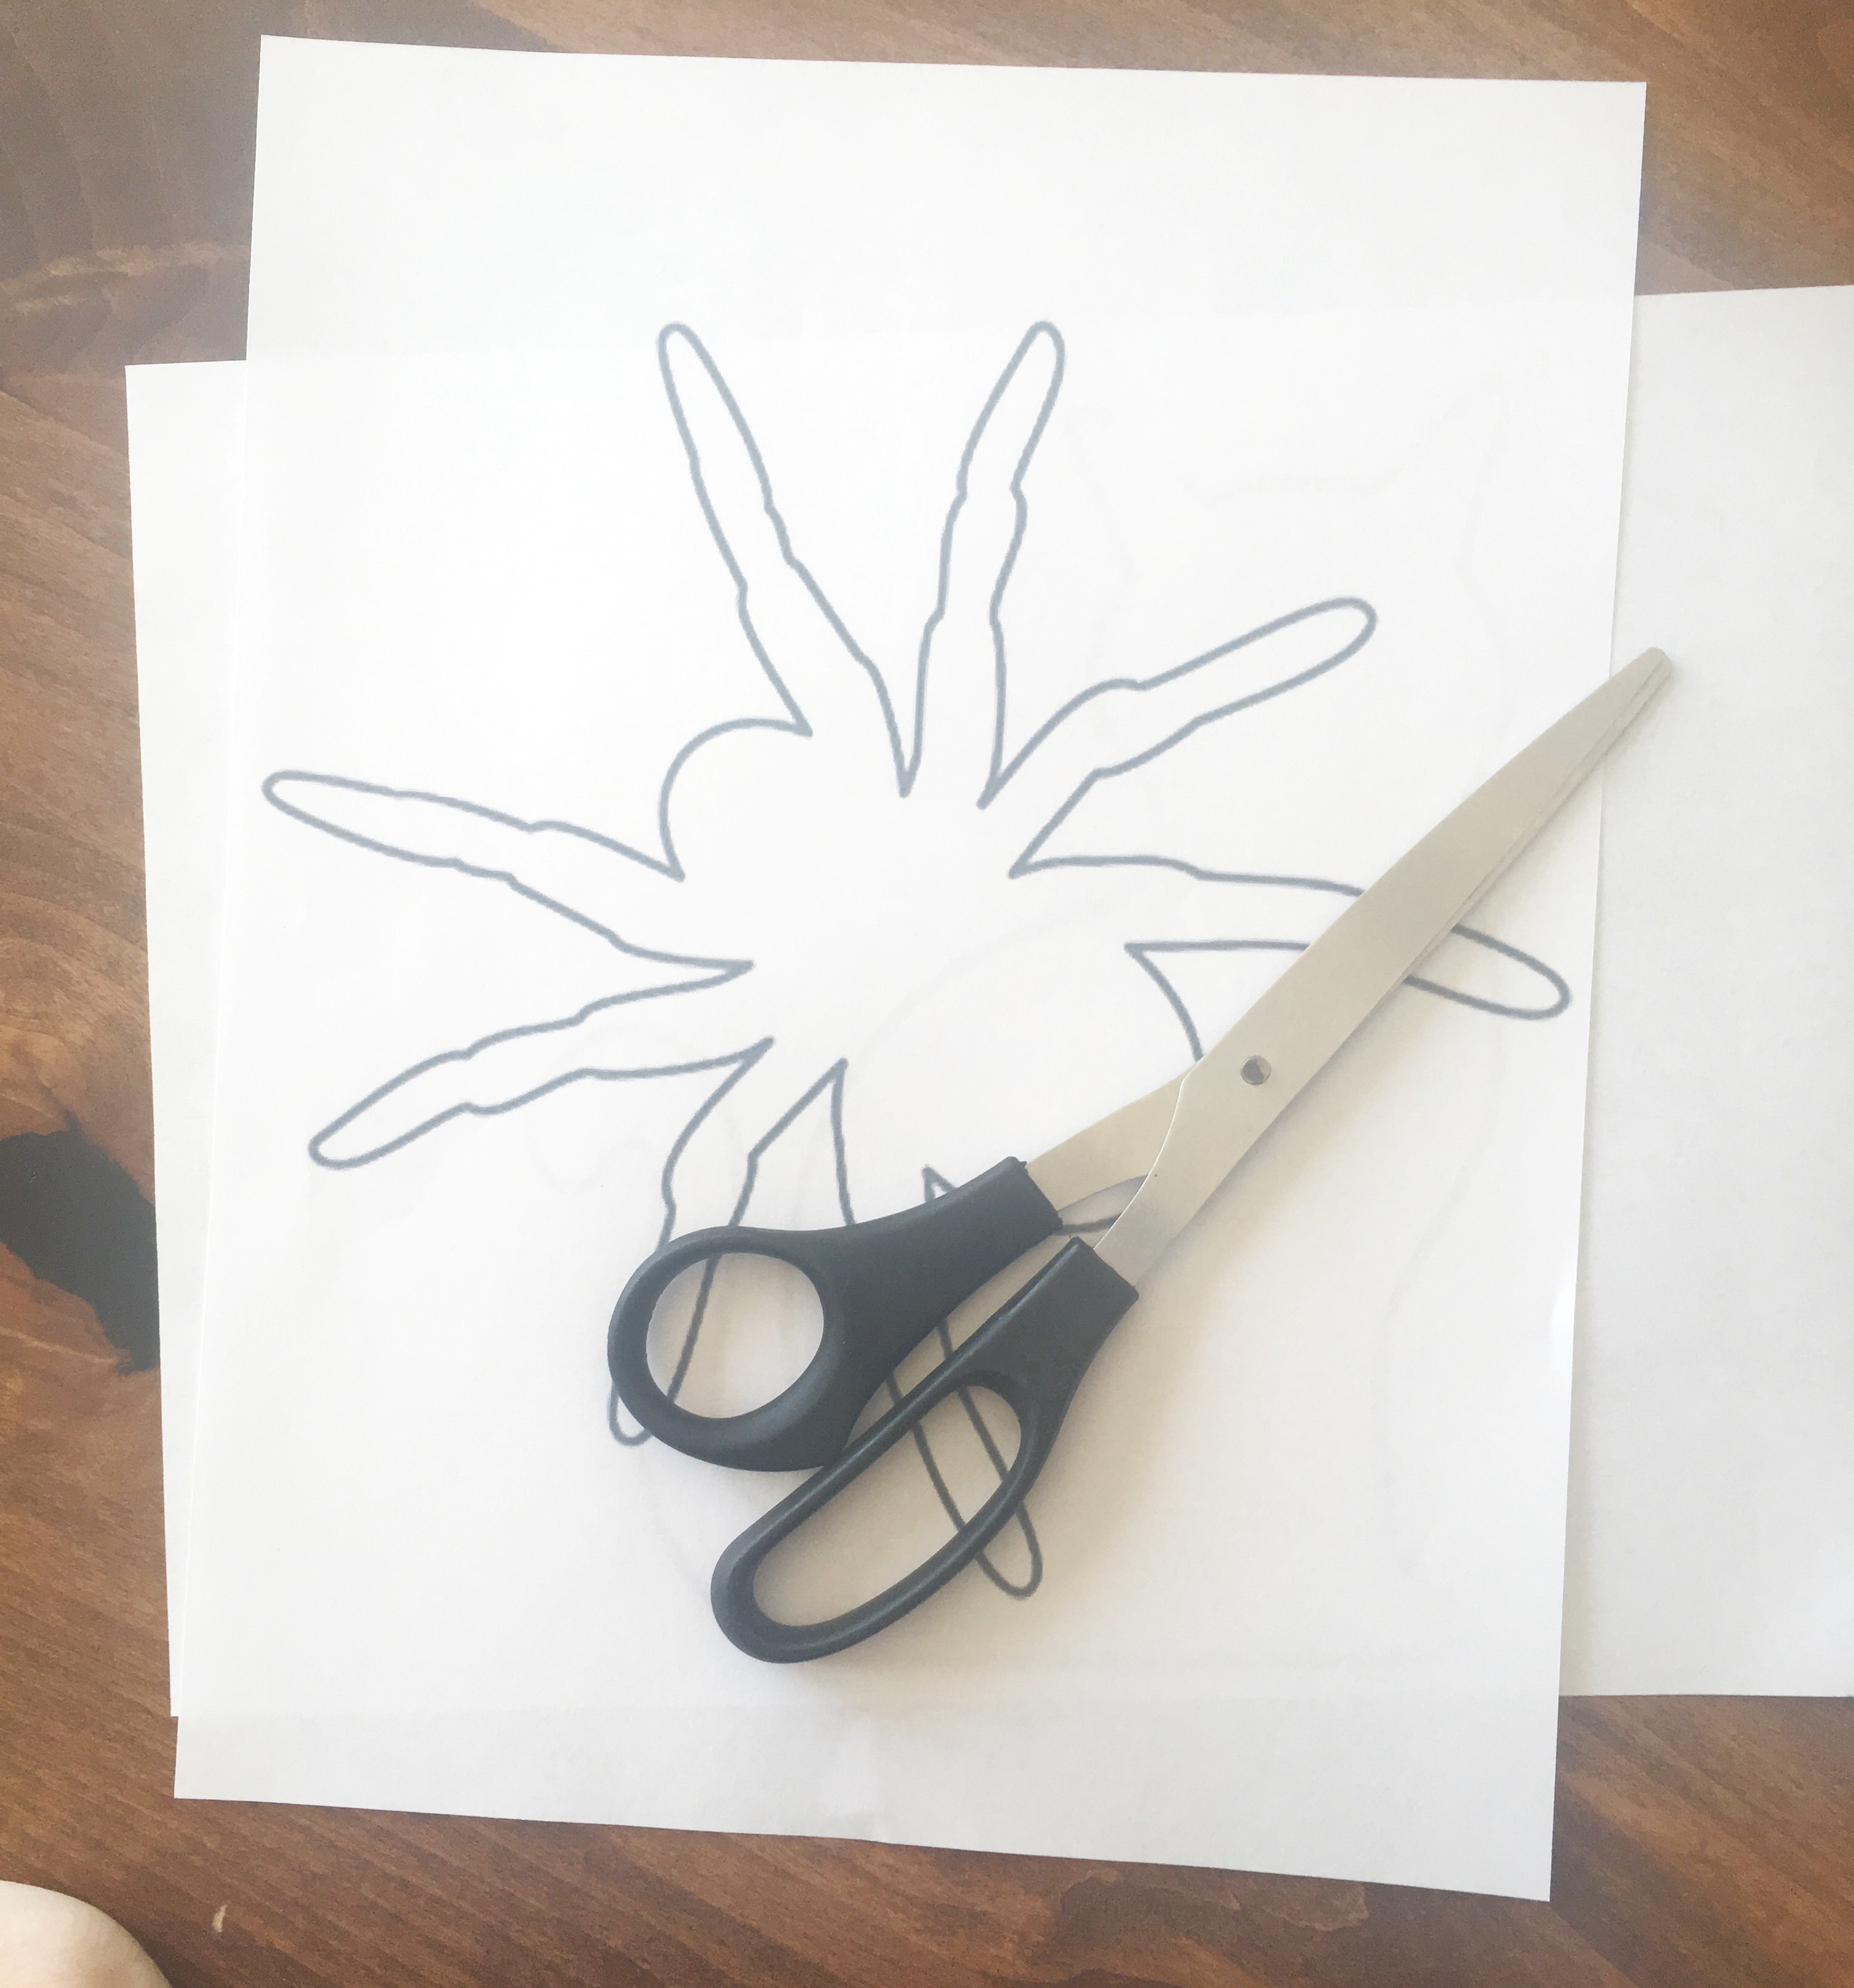
Find Your Pattern
Now that you have gathered your supplies it’s time to find your pattern. You can choose any design, picture or pattern. It doesn’t even need to be Halloween related!
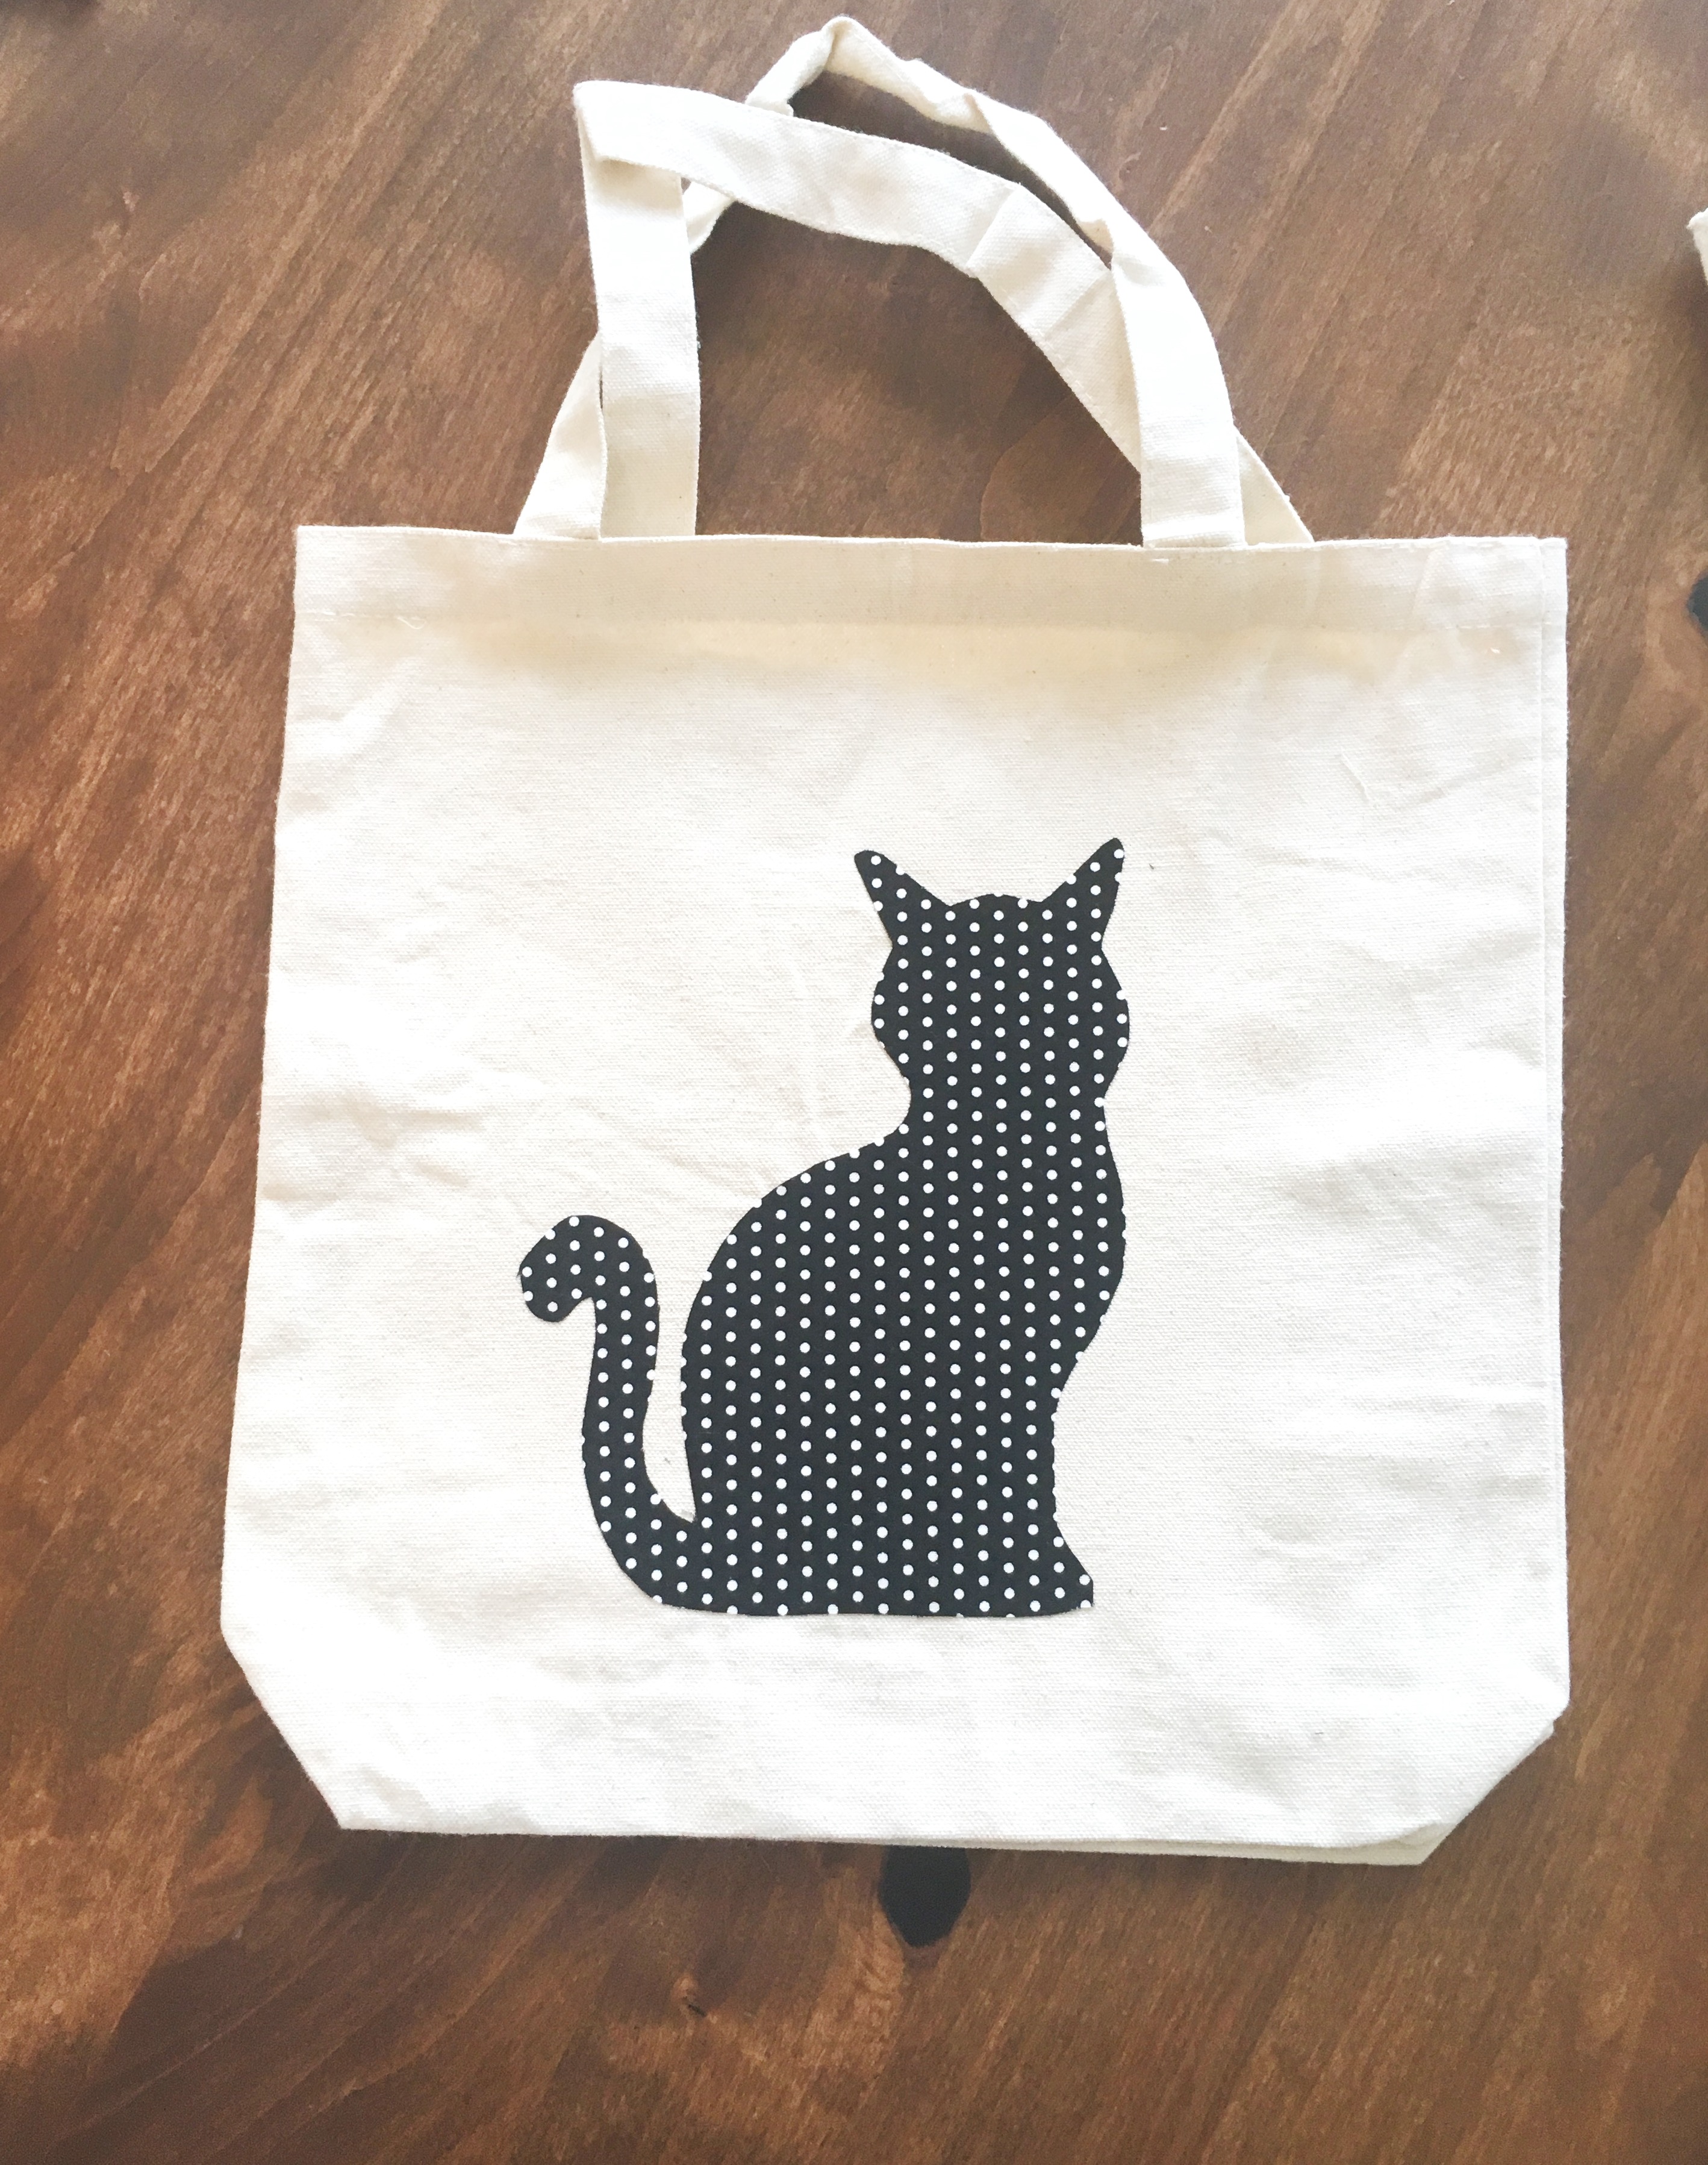
When we were choosing patterns I asked my kids what picture they wanted on each of their bags. My daughter requested a cat and my son asked for a spider, so those are the patterns I searched for.
You can easily find patterns by searching on google, they are fairly easy to find. Just type in the pattern that you want. For example, if you want to use a spider just type in, “spider tracing pattern.” You will find many different patterns to choose from!
Another great option for patterns is to look at clip art in Microsoft Word.
Once you have found the pattern you want to use, print it and cut it out.
Prepare Your Design
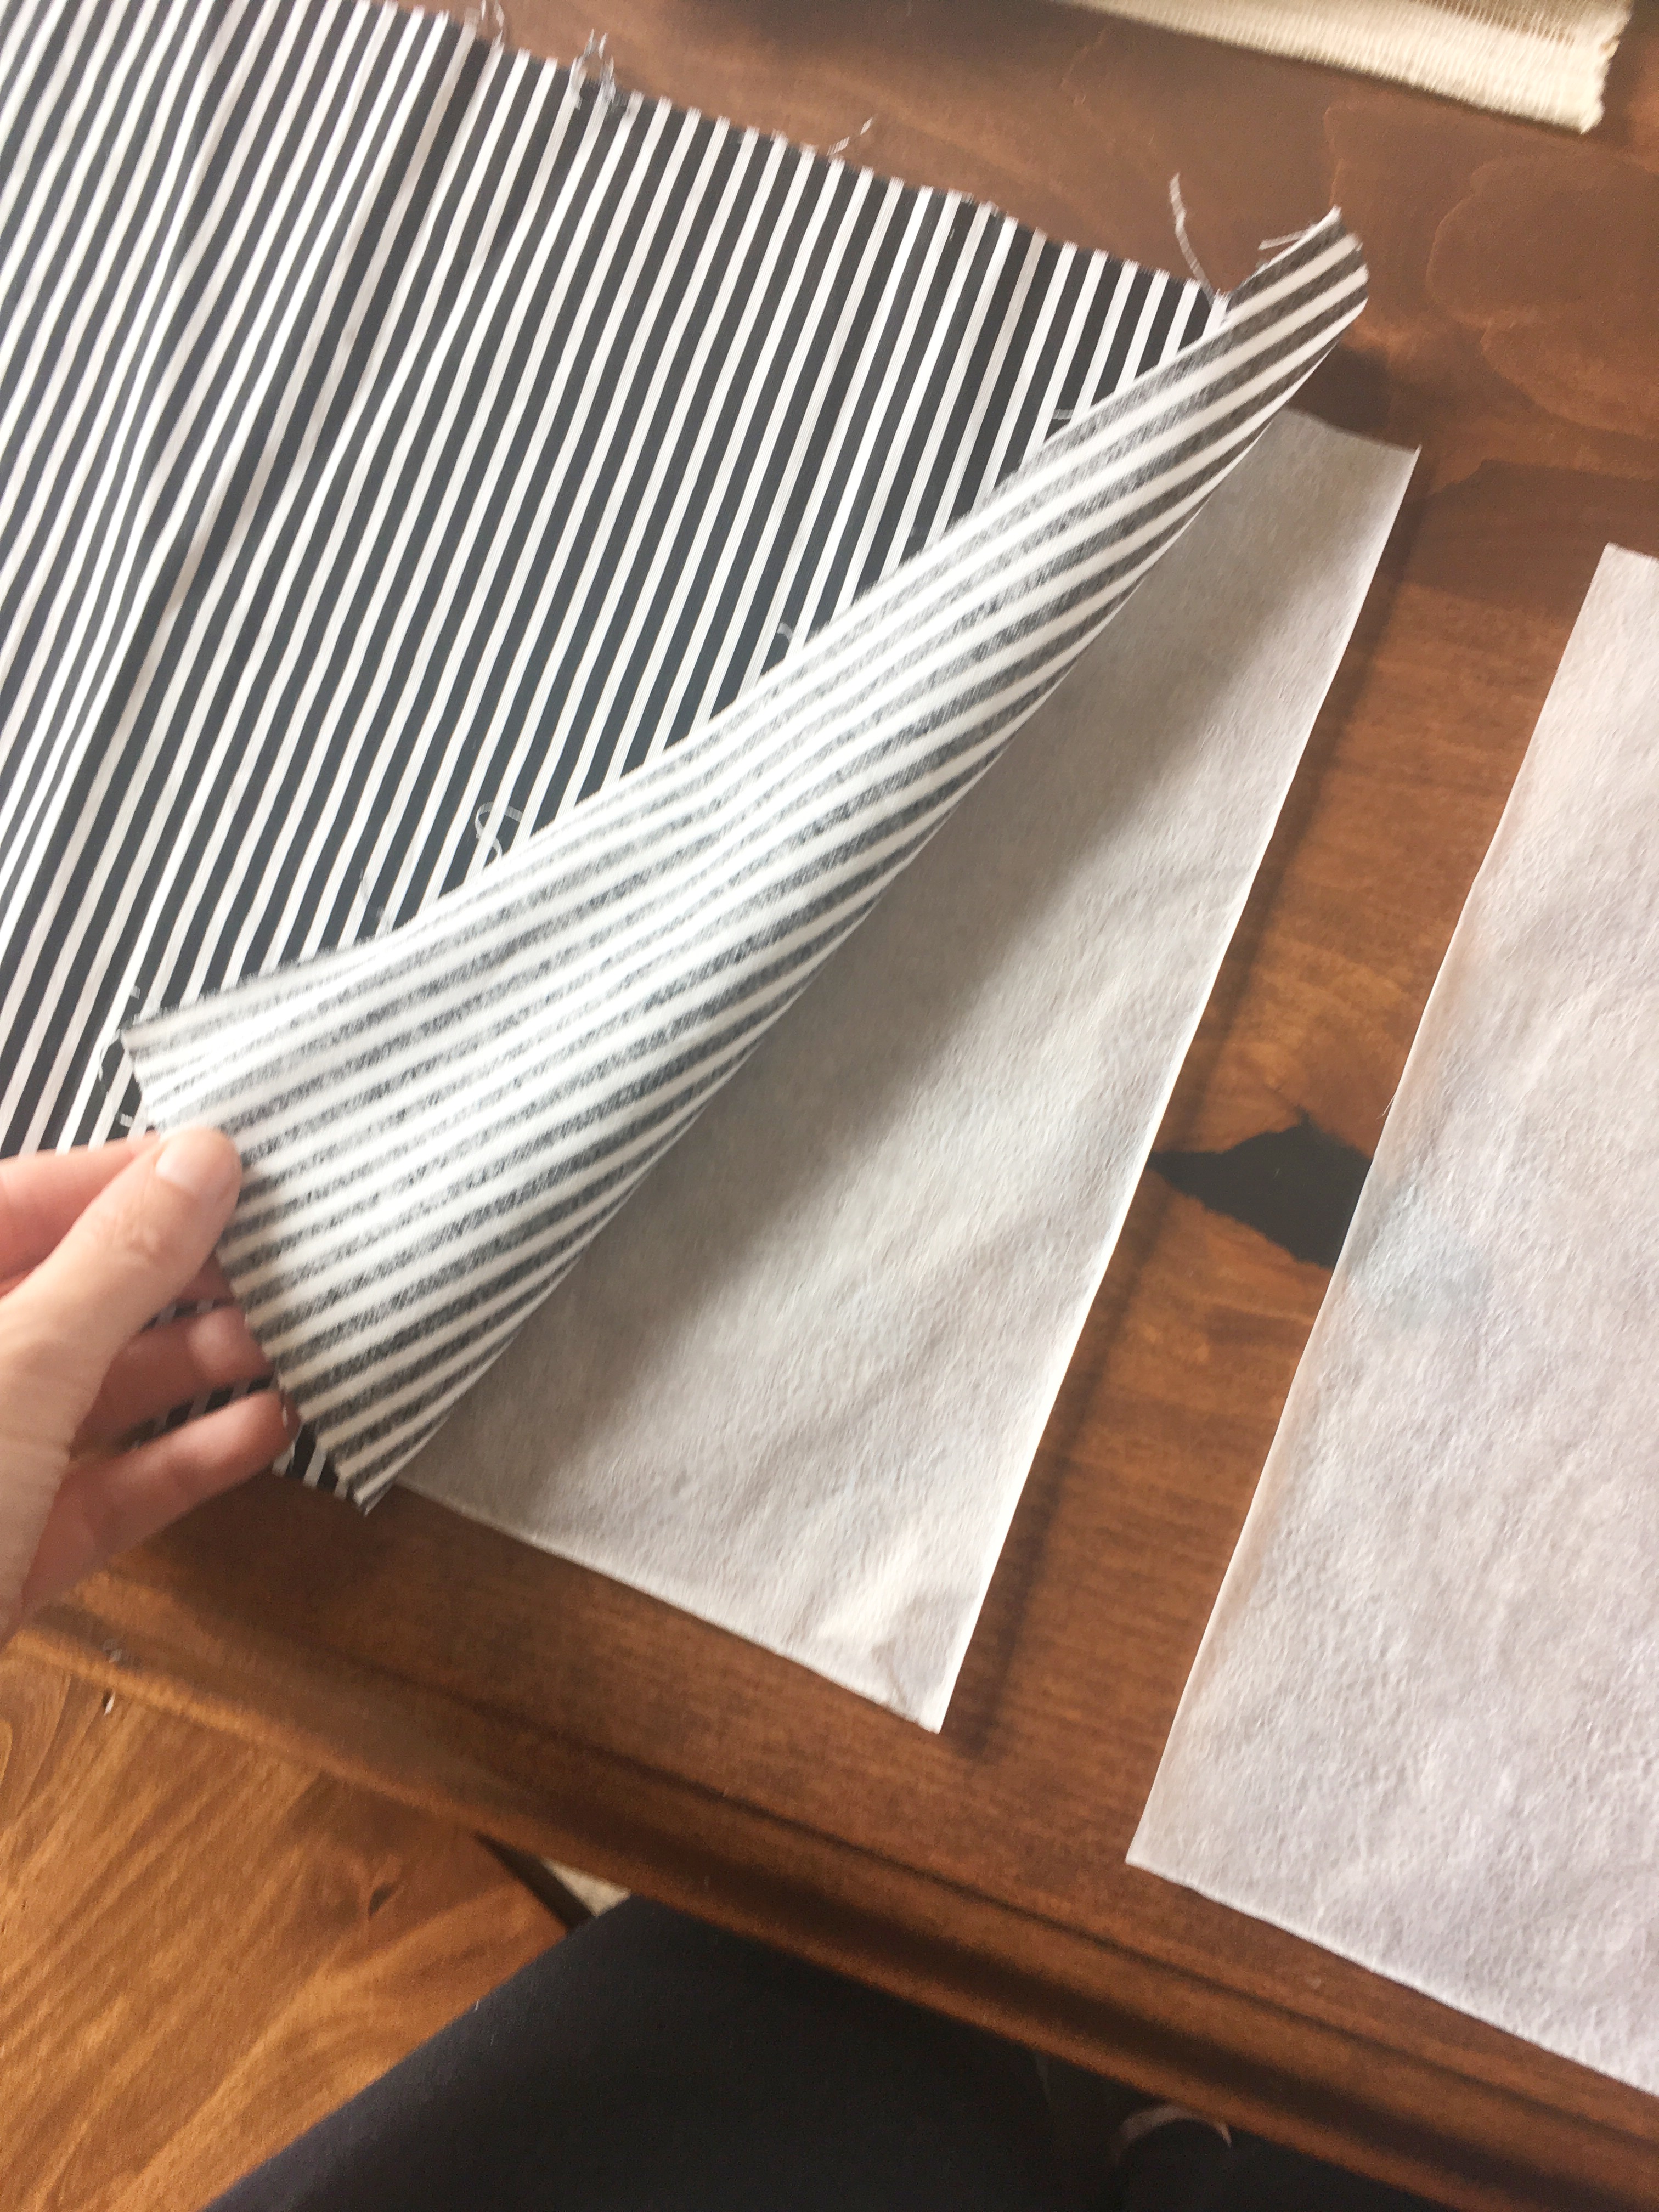
Next you will need to transfer the pattern onto your chosen fabric. I recommend following the directions on your wonder under fusing, they are all a little different.
When I transferred my pattern I cut out a large square of wonder under (large enough to cover the entire shape), and ironed the rough side onto the wrong side of the fabric.

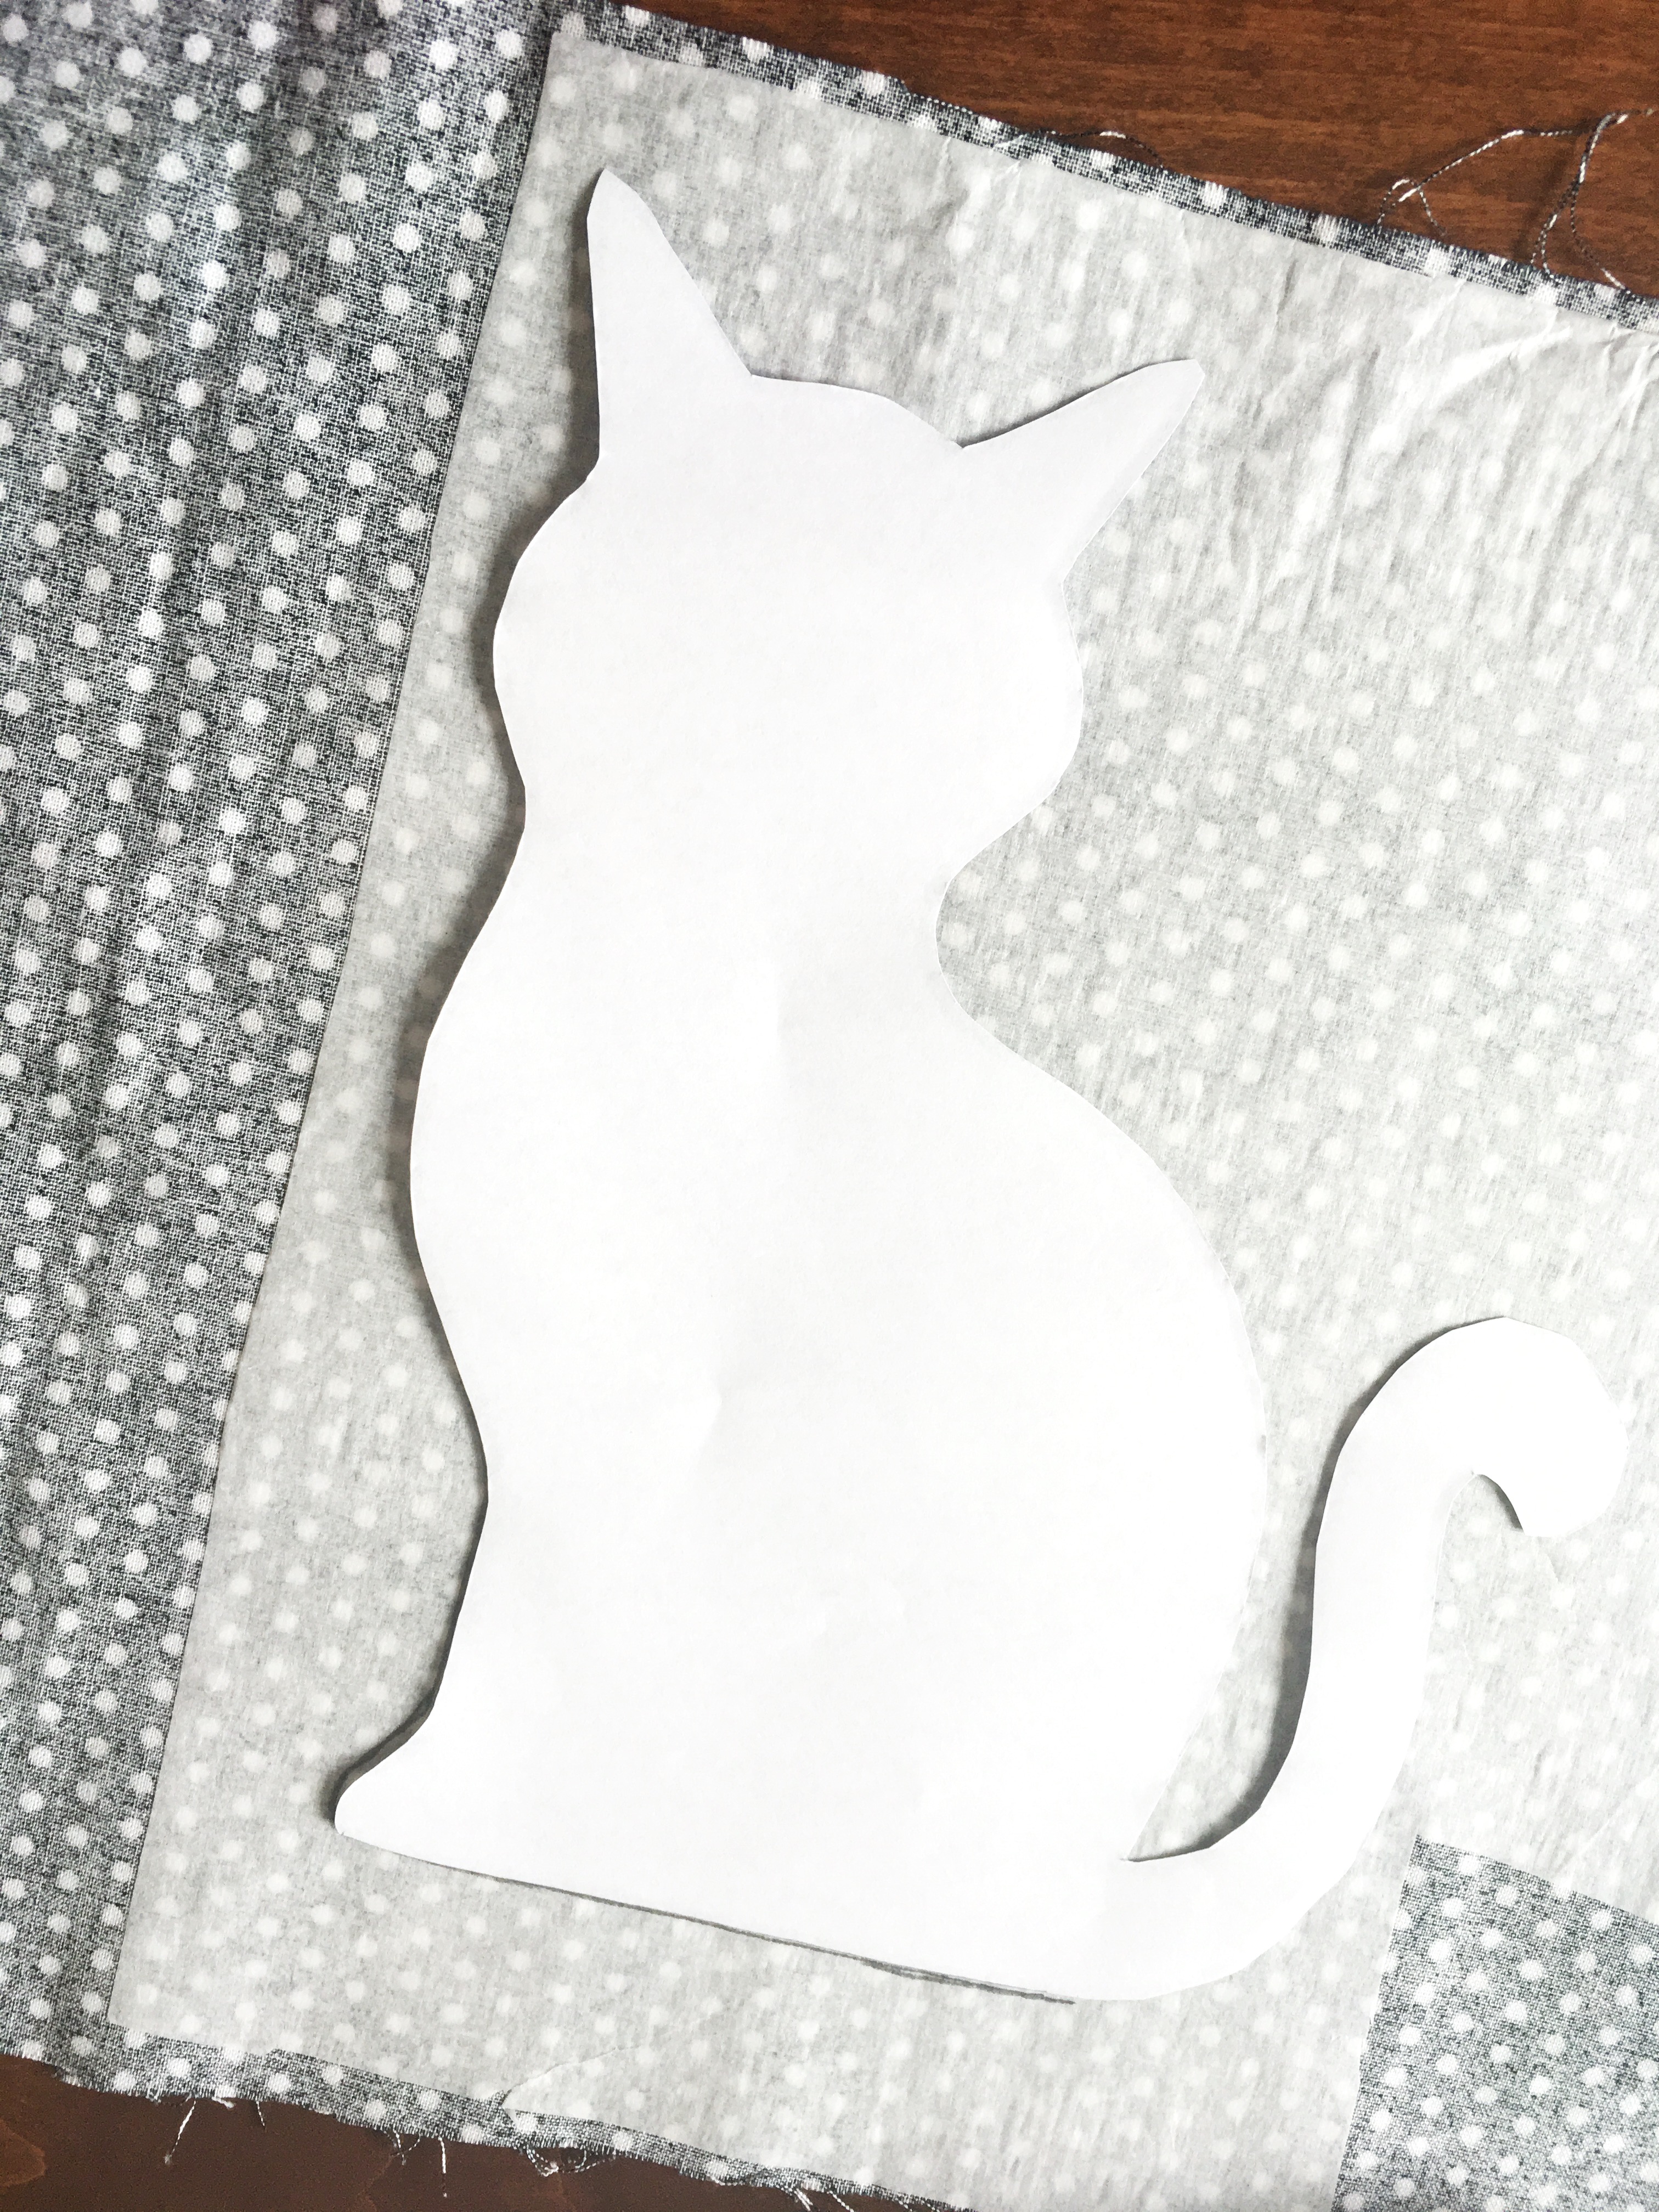
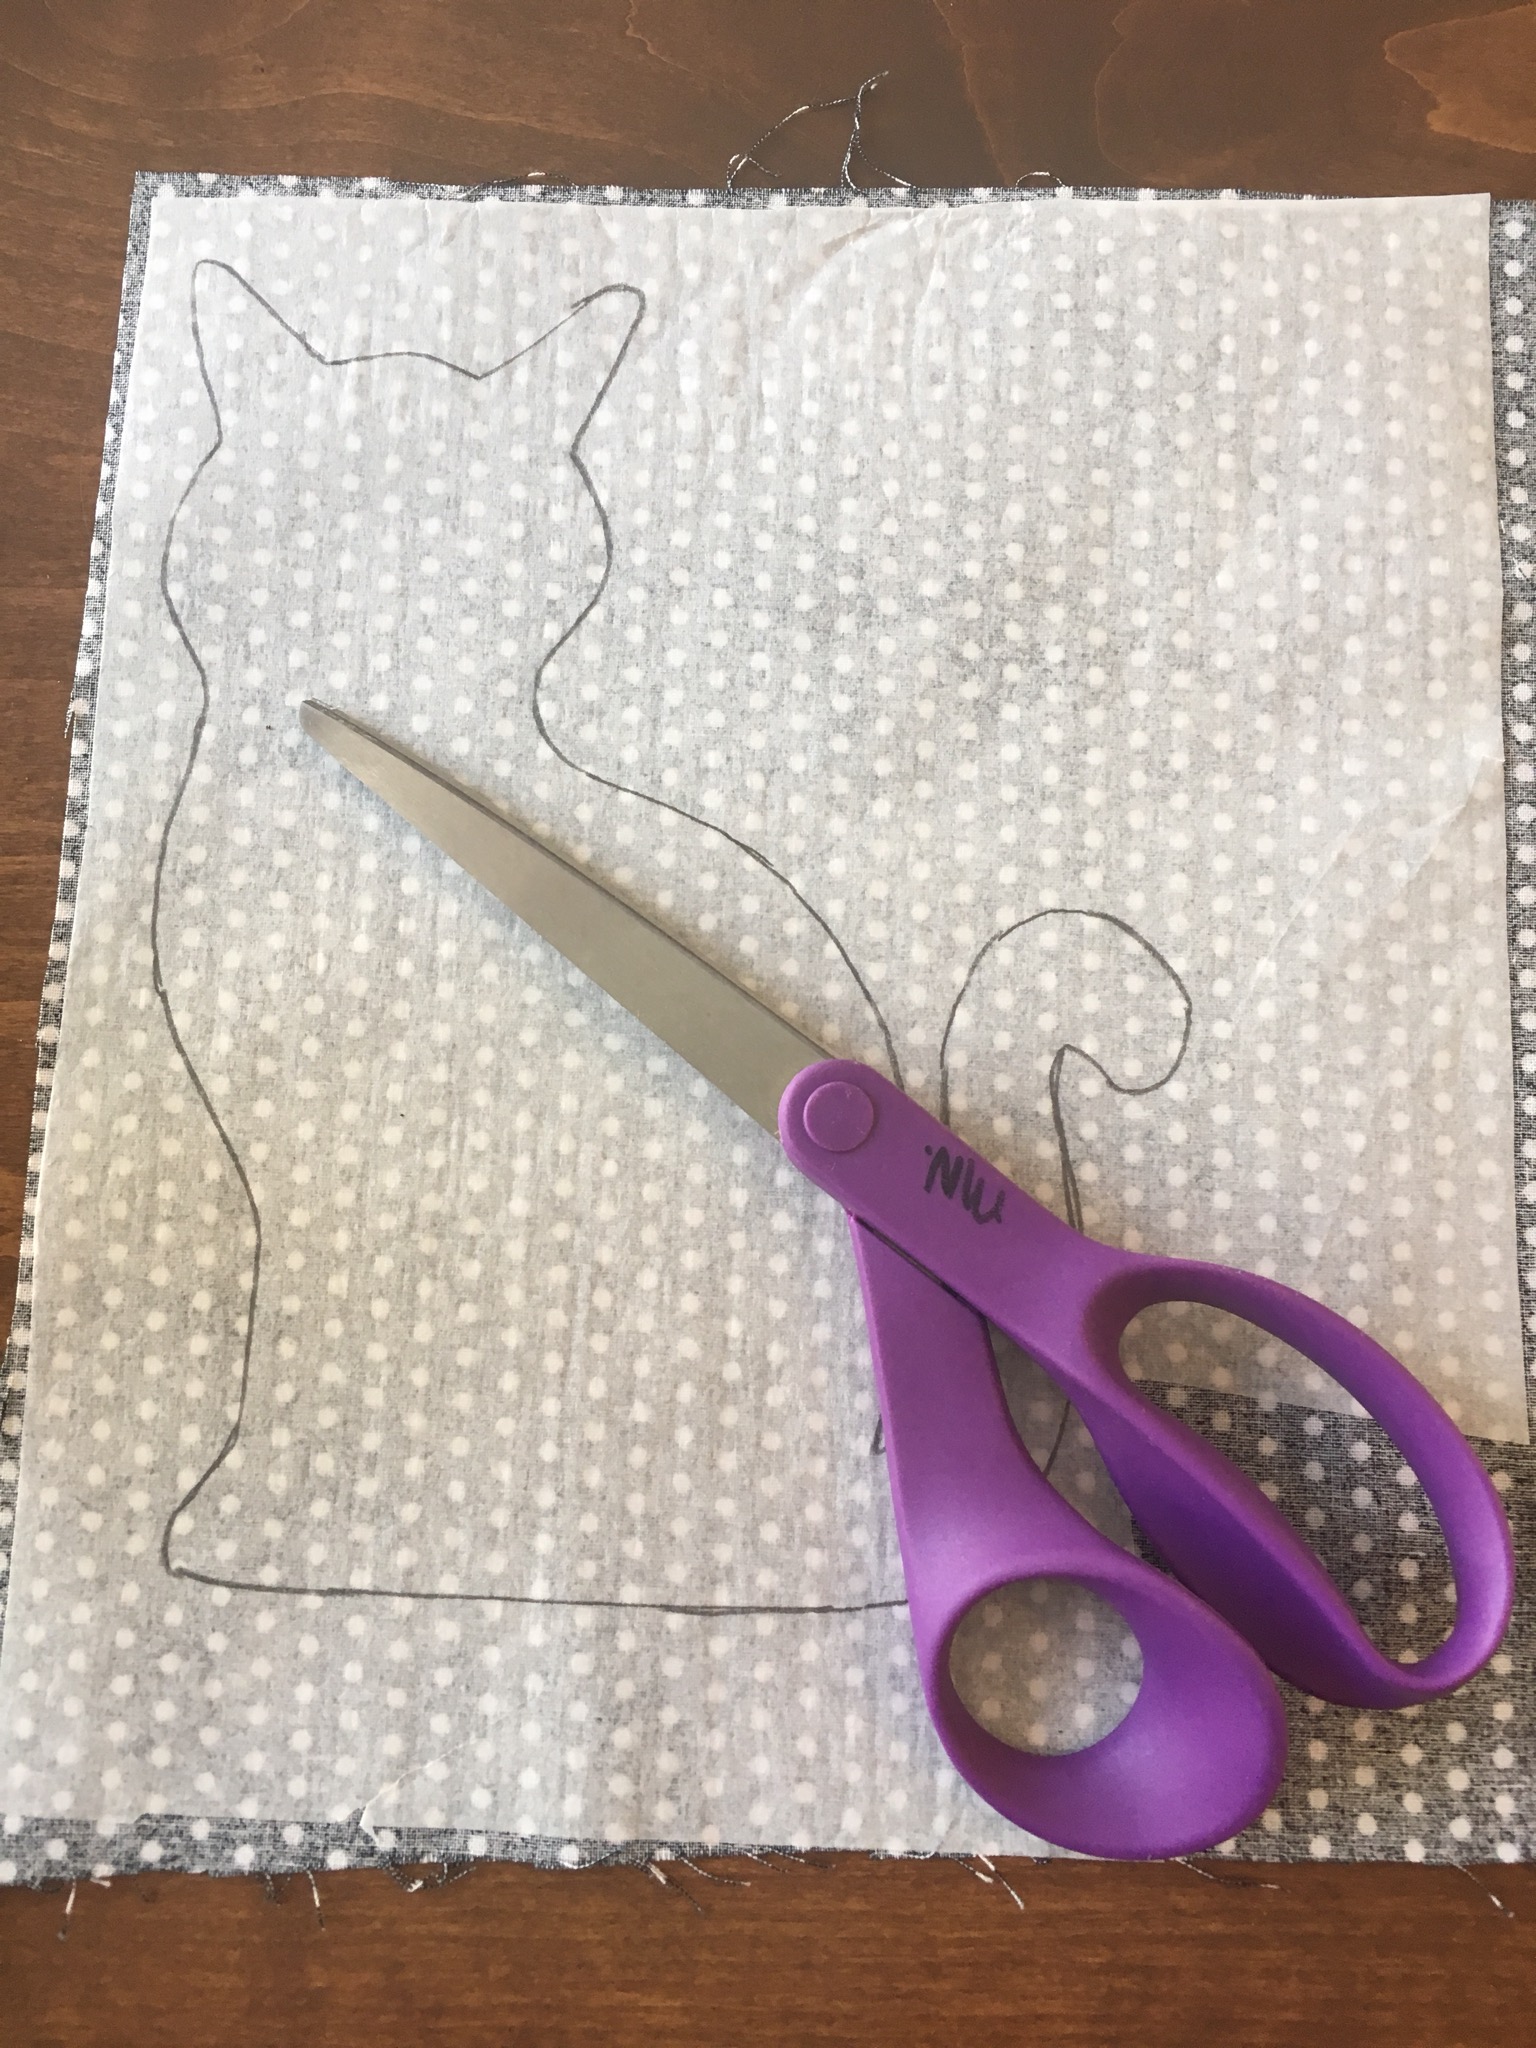
Then I used my tracing pattern to trace the shape onto the paper side of the wonder under.
Once the pattern is traced, cut the picture out (fabric and all), fabric scissors are really helpful to cut out the fabric.
Lastly, gently pull off the paper backing of the wonder under.
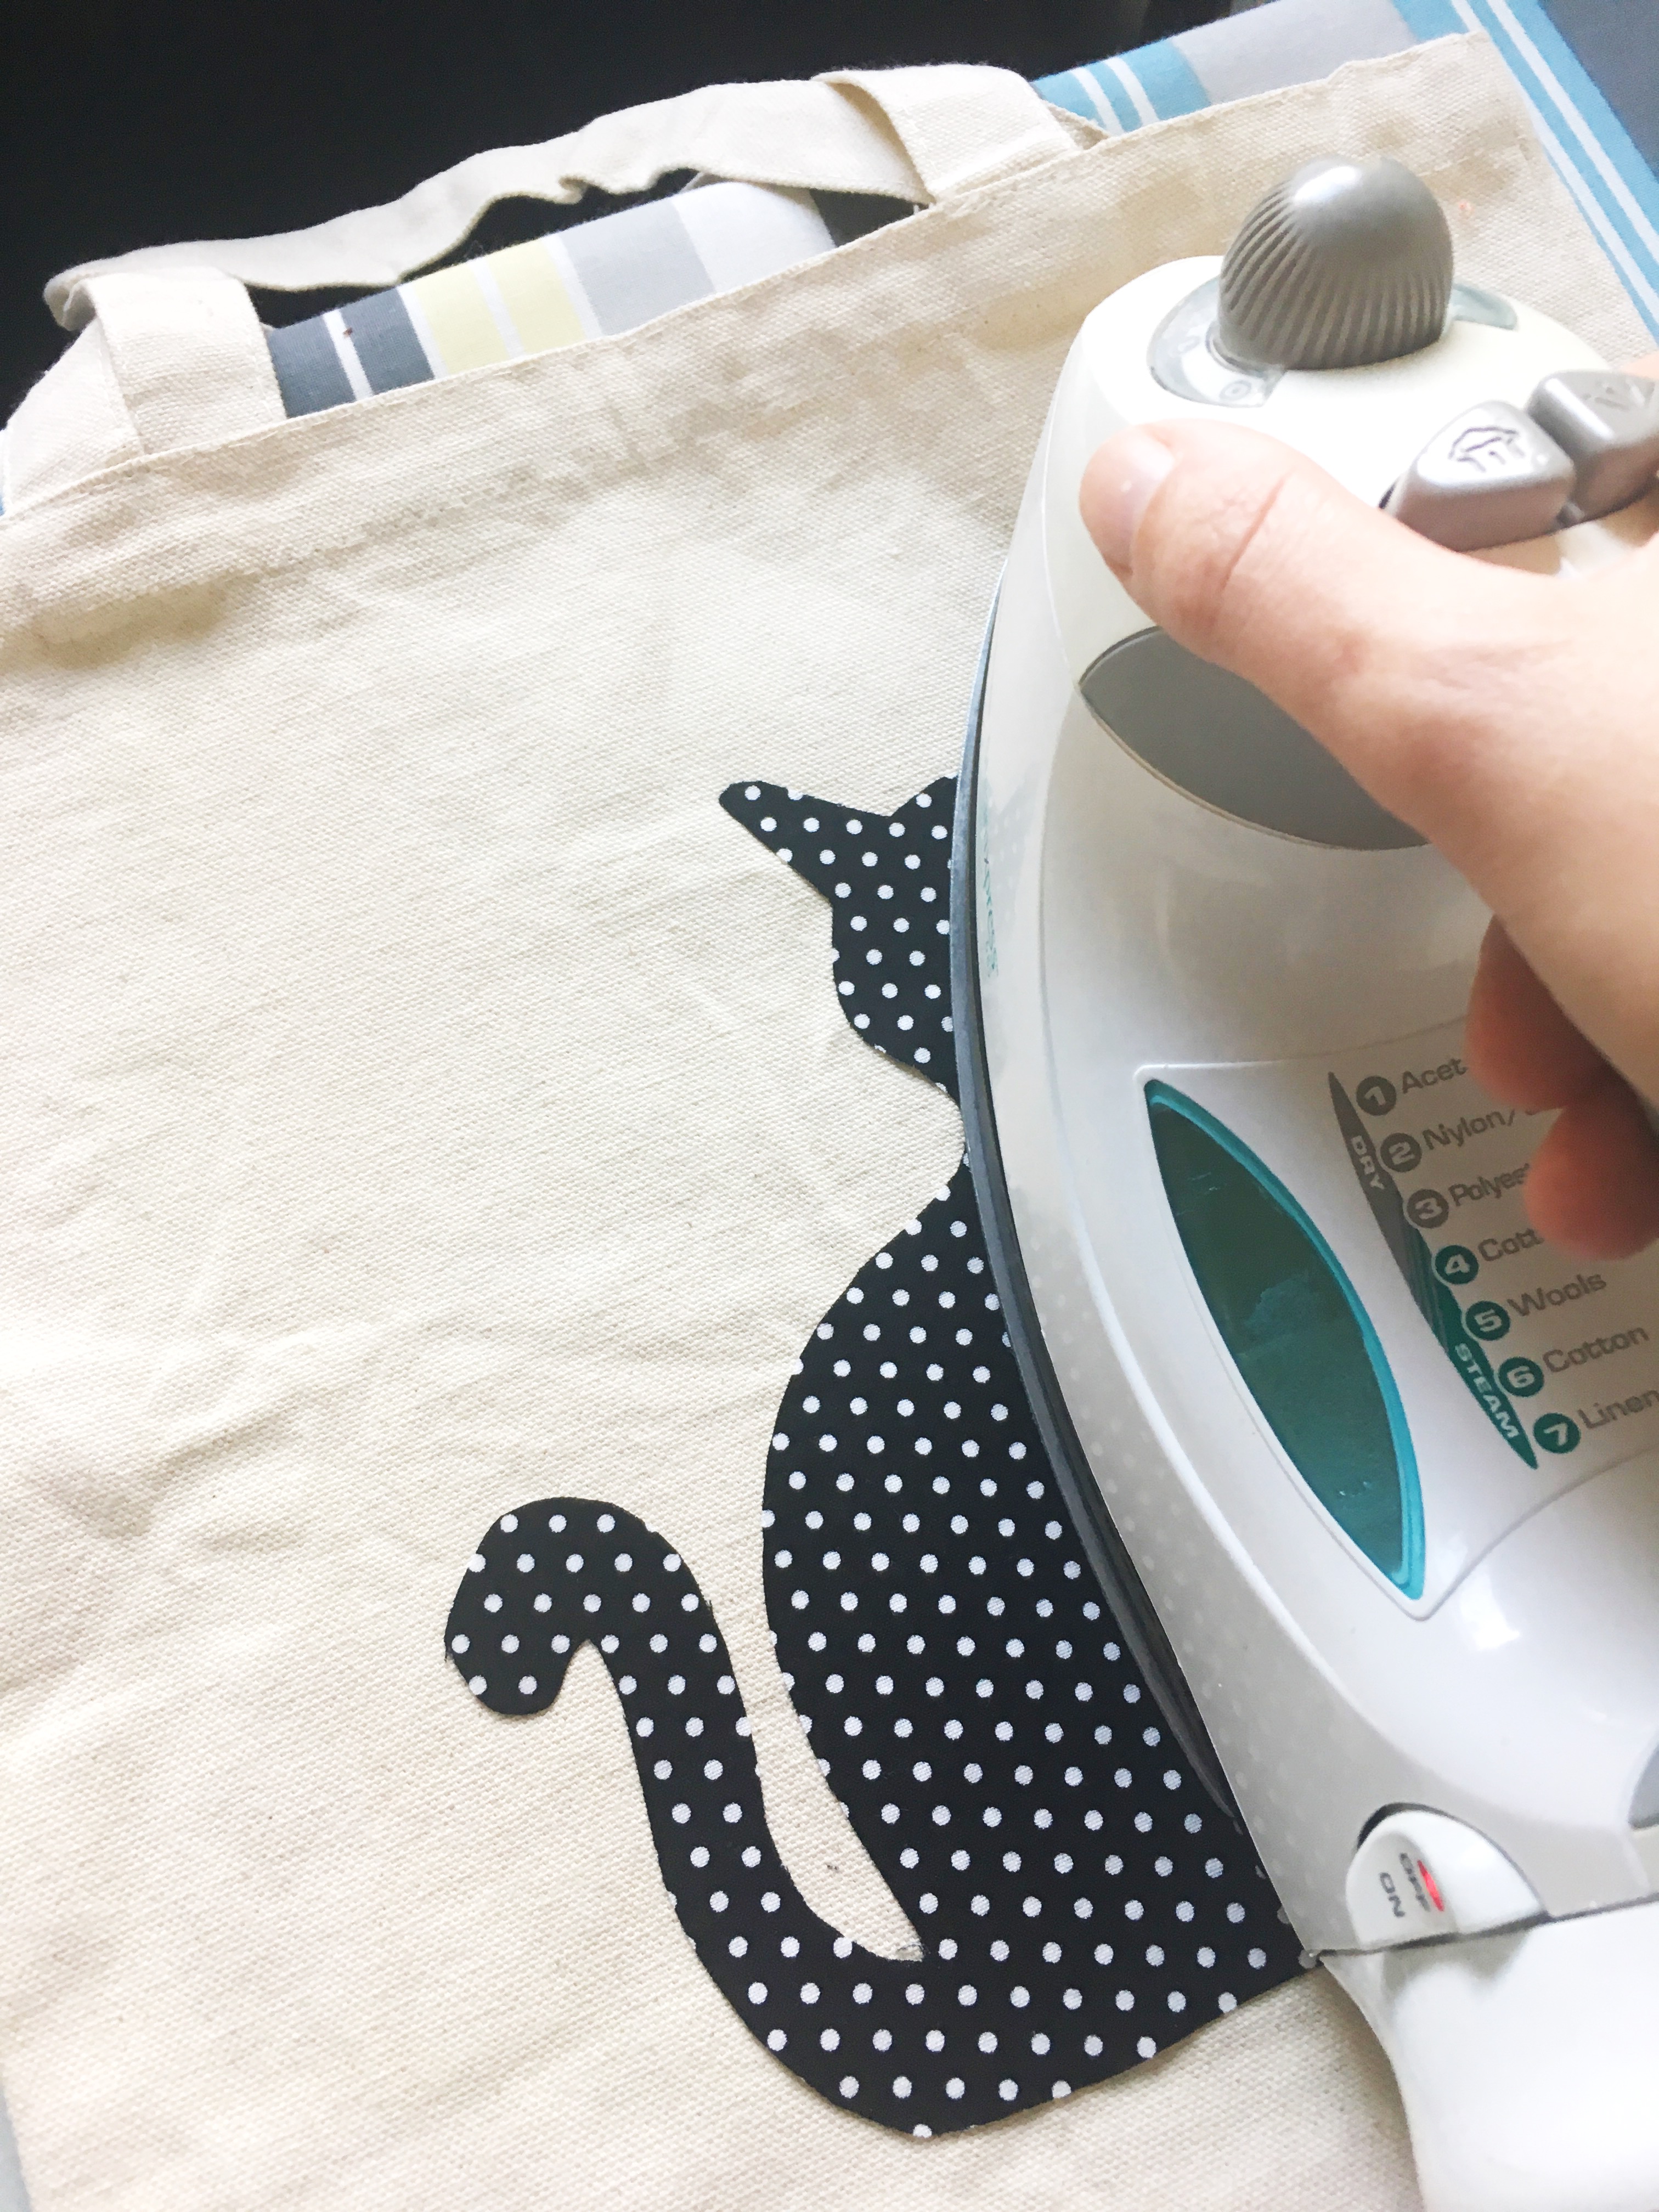
Iron On The Picture
Now, center your cut out fabric picture on the bag where you want it. Use a warm iron to iron the picture to the bag. The wonder under fusing will fuse the fabric to the bag, making it stick.
I have found that holding the iron steady for 5-10 seconds over each section of the picture helps give the applique a nice firm hold.


That’s it! You’re done! See, I told you it would be easy!! It probably took me a total of one hour to finish both bags! Quick crafting, is my type of crafting! Imagine all the fun designs and fabric you could iron onto a bag! So many fun ideas!

In Conclusion
Use your imagination when making this DIY Trick or Treat Bag. There are so many fun possibilities. You could iron on a pumpkin, ghost, witch hat, bat, skeleton, or fun lettering.
I can’t wait to watch my kids go trick or treating with their new bags!
Related Articles:
Easy Pumpkin Craft Tutorial For a Fun Fall Decoration
Pin for Future Reference:
Thank You Melanie for such a WONDERFUL WEBSITE. You truly fill my void of living simply with ENJOYING LIFE TO THE FULLEST 🙂 I look forward to your Instagram Account as well . You are truly a unique person: 🙂 Happy Fall ??????
Wow! This comment made my day! Thank you for your sweet words of encouragement!